January 02 2024
Intro
The animation that started it all. This was created to introduce my new identity on Mastodon, which would happen the day after it got completed.
Process
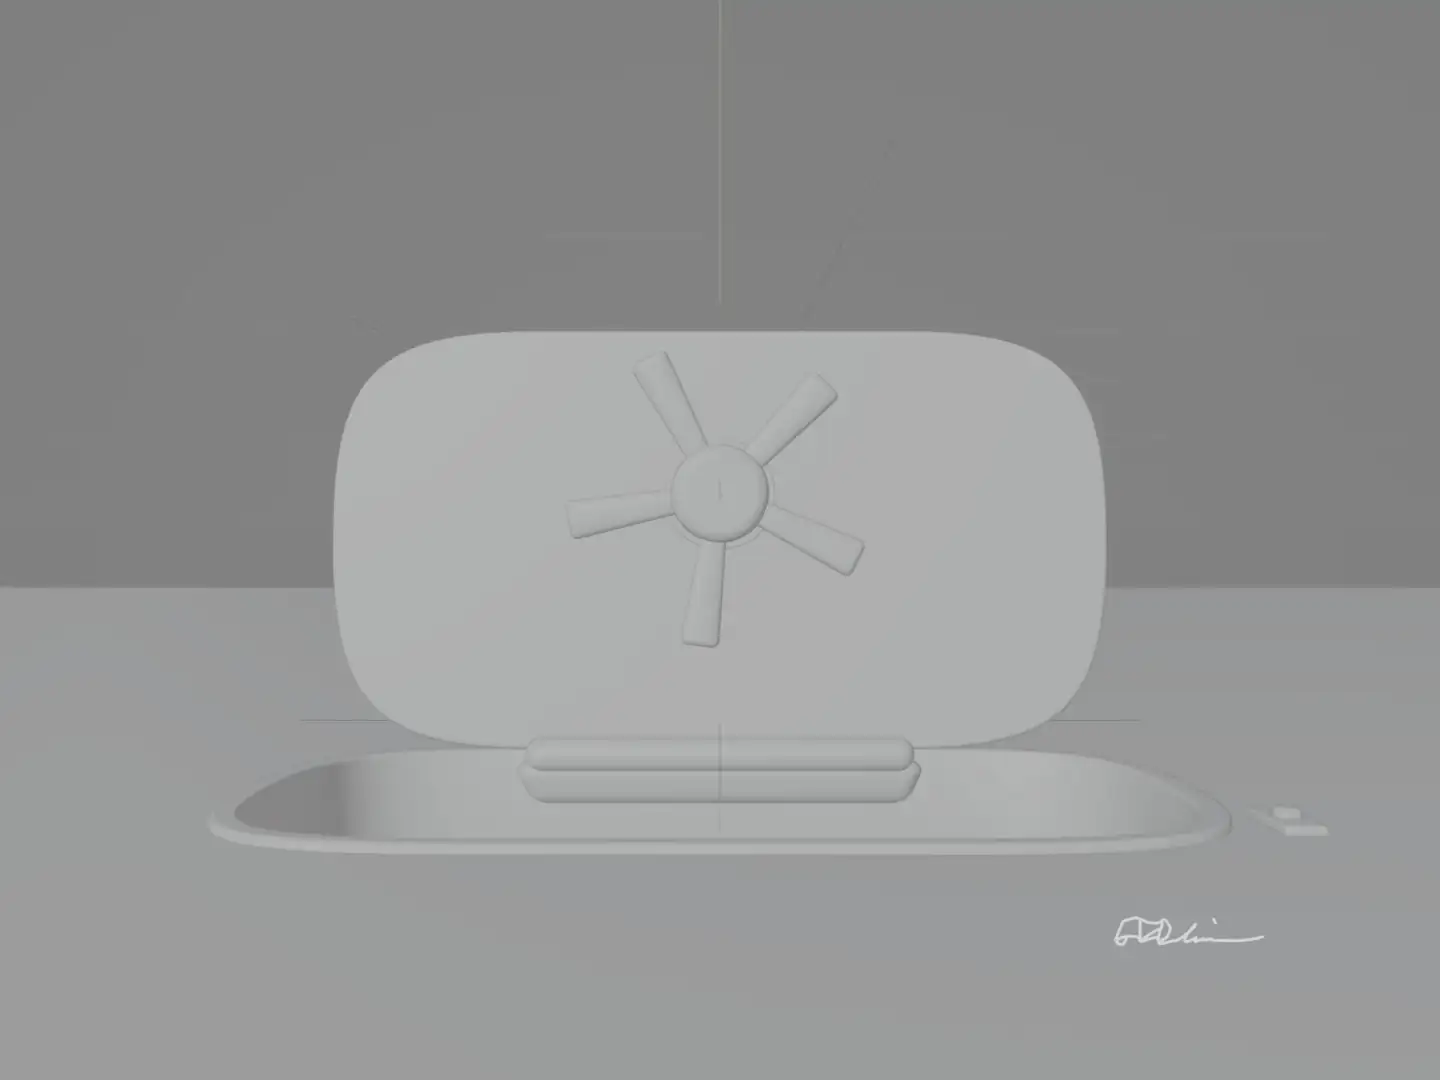
Hatch Shape Design
I wanted the shape of the hatch to very subtly reflect my type design sensibilities, by having more squircle-like shapes. So I first used Glyphs to build out these shapes, then exported SVGs out of them.
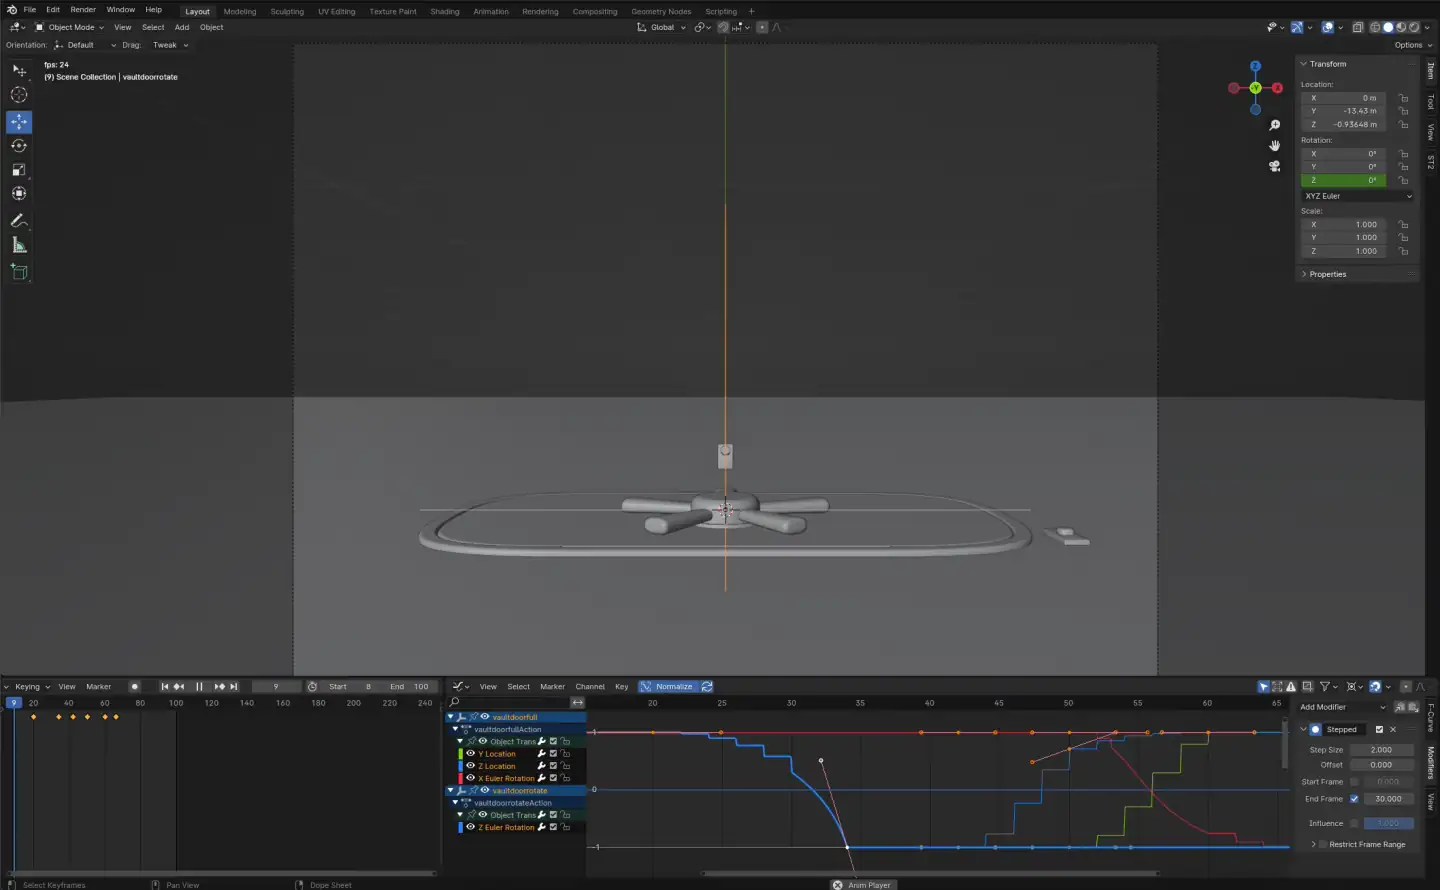
3D
The hatch itself was modelled and animated in Blender, which would be retraced during the cleanup process. I modelled one handle and used the Array modifier to duplicate and rotate them around. Since there is no constant rotation offset, I added an empty, set the rotation, and inputted that into the Array modifier on the handle object itself. However, it requires that to animate the rotation of the handles, both the empty and the handle have to be rotated together, else weird things happen.
To solve this, both were made children of another empty object which would animate the rotation. That way, I only had one set of keyframes to worry about. On top of that, the whole moving door is controlled by one parent.
The best way to set parents is to select two objects and press Control+P (or Command+P on a Mac). There, selecting “Object (Keep Transform)” makes it so that the object stays put but whose position and rotation are now under control by its parent.
Blender also has the stepped interpolation modifier for animation. This can be accessed by going to the Graph Editor, clicking on the desired animated property on the sidebar, clicking “Modifiers” on the right sidebar, and adding “Stepped Interpolation”. Stepped interpolation can be defined to start and/or end at certain frames. Furthermore, multiple of these layers can be stacked together, giving the animator precise control over switching between singles, doubles, triples, etc.
Rough Animation
The rough animation was done in Krita. Using a quick sketch as reference, I started by drawing the waving keyframe first. Then I worked backward to make all the keyframes there, and after that, I worked forwards for the waving.
Although I draw all of the body parts at once (except the wings) for my main keyframes, I split them into different layers for the actual in-betweens and animate them in a particular order. I mainly start with the head, and animate the left and right hands separately around the same time. Then I animate the body, and the wings are the absolute last.
Breaking up the body and animating the different parts in a certain order is one of the best techniques to tackle character animation. The different parts don’t move independently, their movements are dependent on each other but in a very specific way. For example, it doesn’t make sense to animate the arms when you don’t know where the hands or the shoulders are supposed to go yet. And it doesn’t make sense to animate the wings when you don’t know where the body goes yet.
Usually the movement of anatomy can be encoded as an “X affects Y” chain, like “hands and shoulders affect arms”. But sometimes these movements may be flipped at will. For example, at the actual wave, the hand isn’t driving the arms anymore, the forearm is driving the hand position. So here, the hand is being animated alongside with the forearm. The trick is to understand, for a given character performance, what these movement relationships are based on the physical goals of that character and how they are achieving it. And from there you have a path to achieving effective character animation.
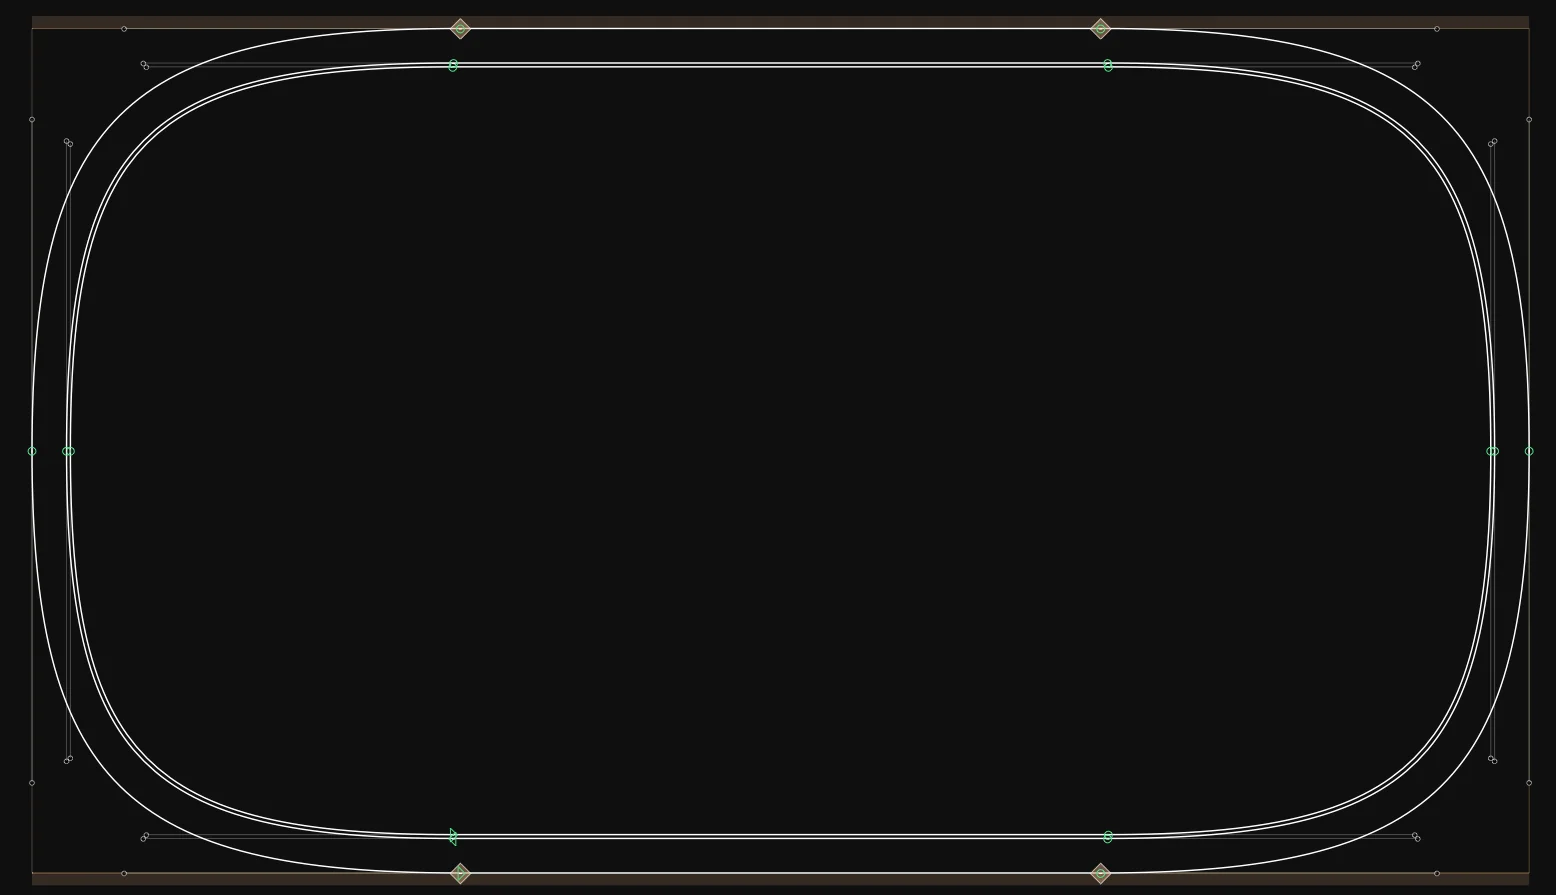
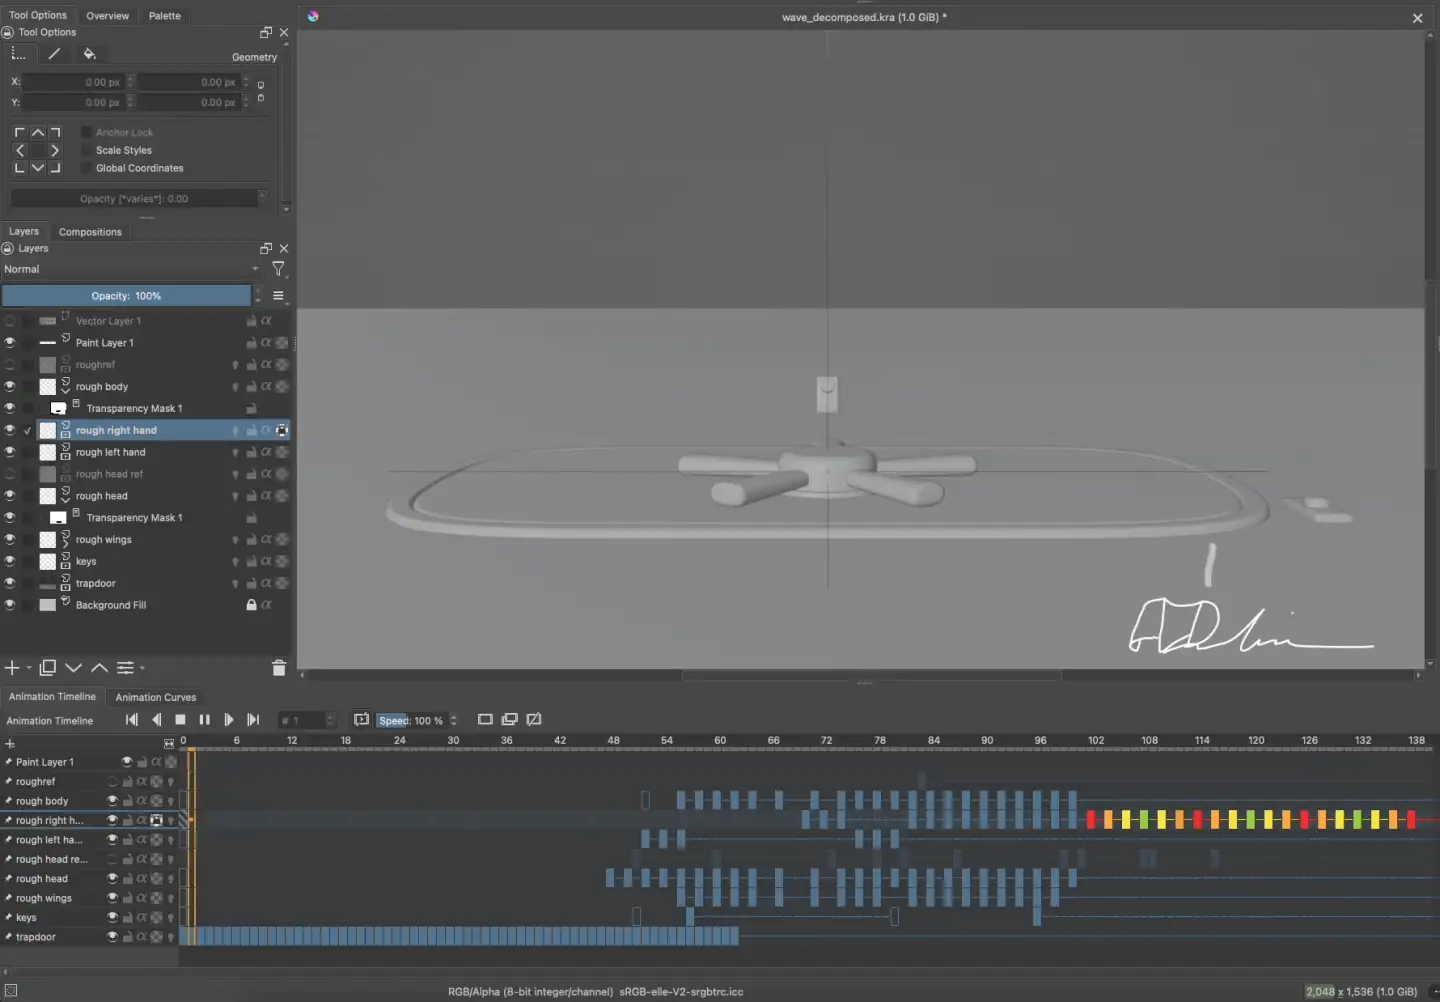
Here is the timeline and the different layers color coded:
Cleanup
Cleanup and coloring were done in Tahoma2D. I personally found it extremely finicky and unpredictable compared to something like Toon Boom Harmony. But I wanted vector animation and I’m not about to spend two grand on a Harmony license.
Either the coloring system in Tahoma2D is really awful or there’s something I’m misunderstanding. In Harmony you transfer lines to a “color art layer”, which can predictably figure out all the intended gaps if the cleanup is done well. And in the worst case scenario, you can see all the invisible lines, make corrections, and always have closed areas that Harmony likes. I didn’t find Tahoma2D’s system to be anywhere close to this level of reliability. At best, it has a “gap check” system which often produces a lot of false alarms, and even if there’s technically no gap at all, then it still sometimes refuses to fill in the color. So I’ve often went the quick route of drawing a large stroke under my line art and moved on.
Now that I had the whole animation figured out, and since I was cleaning this all up in vector, I took the chance to zoom in the image a little bit.
Like with the rough animation, the cleanup was also split into separate layers for the different body parts. In addition to there being overlapping motions, the other big reason was because there is interplay with multiple depths going on. Even though the body is behind the front half of the surface, the whole piece extends over it through the arms and then the hands. So I do my best to make the connections between the line art appear as seamless as possible, then draw lines underneath each layer that overlap the boundaries between these parts such that when they’re filled, they look like one whole piece.
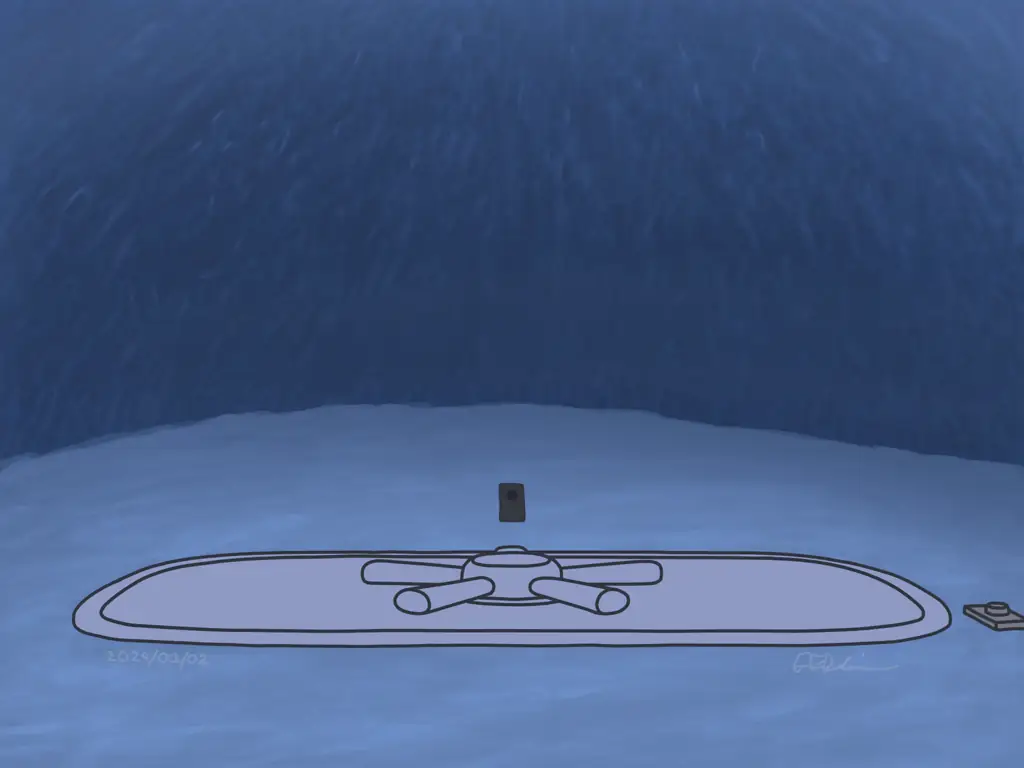
Background
The background was also done in Krita. My background painting skills kind of suck, and that was with using reference. But at least the floor sells the idea of an ice cave, at least to my eyes.
Compositing
I zoomed in the camera in Tahoma, but importing the background would position it at the unzoomed position. This was a problem since I painted the background to fit the zoomed in position rather than the original position and having to reposition it would result in alignment issues. Plus there were some complications regarding the background as there were things both in front of and behind it. So I exported all the layers out and did compositing in a separate program rather than doing it in Tahoma and then exporting it out of the program totally finished.
Compositing was done in Motion. I don’t have After Effects, I wanted more exact precision between the Tahoma2D project and the background (since the background was using the new crop and the Tahoma2D project was technically wired to the old crop), and I encountered glitches when throwing many layers at Blender’s node compositing engine.
Conclusion
Overall it was a solid three days of work. It was pretty much all I worked on for those three days. It really should’ve been four days since I stayed up until 5 in the morning to finish my cleanup and coloring. But it got done.