March 30 2024
Whoa, that’s a massive Easter egg!!!
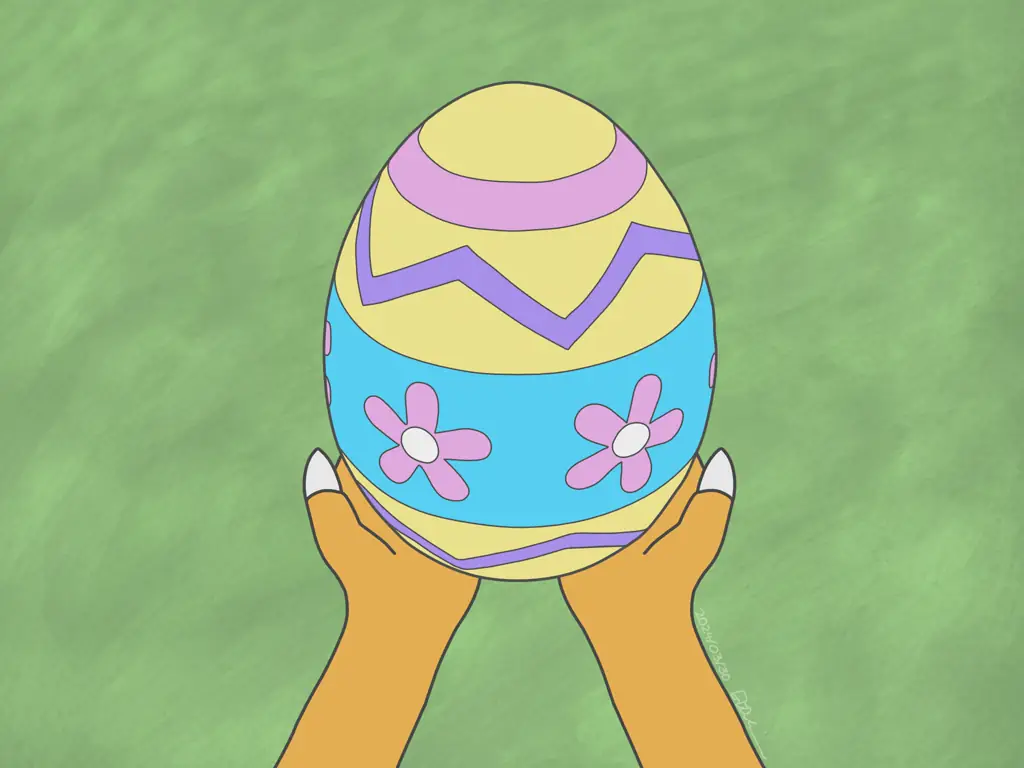
Why do Easter eggs have to be chicken eggs?
Process
This is, without question, one of my more complicated animations. I don’t know if I’d consider it more complex than Intro, but it comes close for sure. There is a lot of movement going on, and a rather complicated 3D reference had to be set up.
I’ve tried to stick to animating exclusively in 12fps as it halves the amount of frames, and most cartoon animation is in doubles anyway. However, at this time, this was only one of two animations where that was actually possible, the other one being it’s me, the font derg:
- Intro purposely used singles in the hatch open; the idea of animating in 12fps did not occur to me yet.
- Look for Sugarcone at your local park! was a reformatting of an older animation of mine which was done in 24fps.
- wingbanging??? had a short enough loop that I couldn’t get it to look good in 12fps.
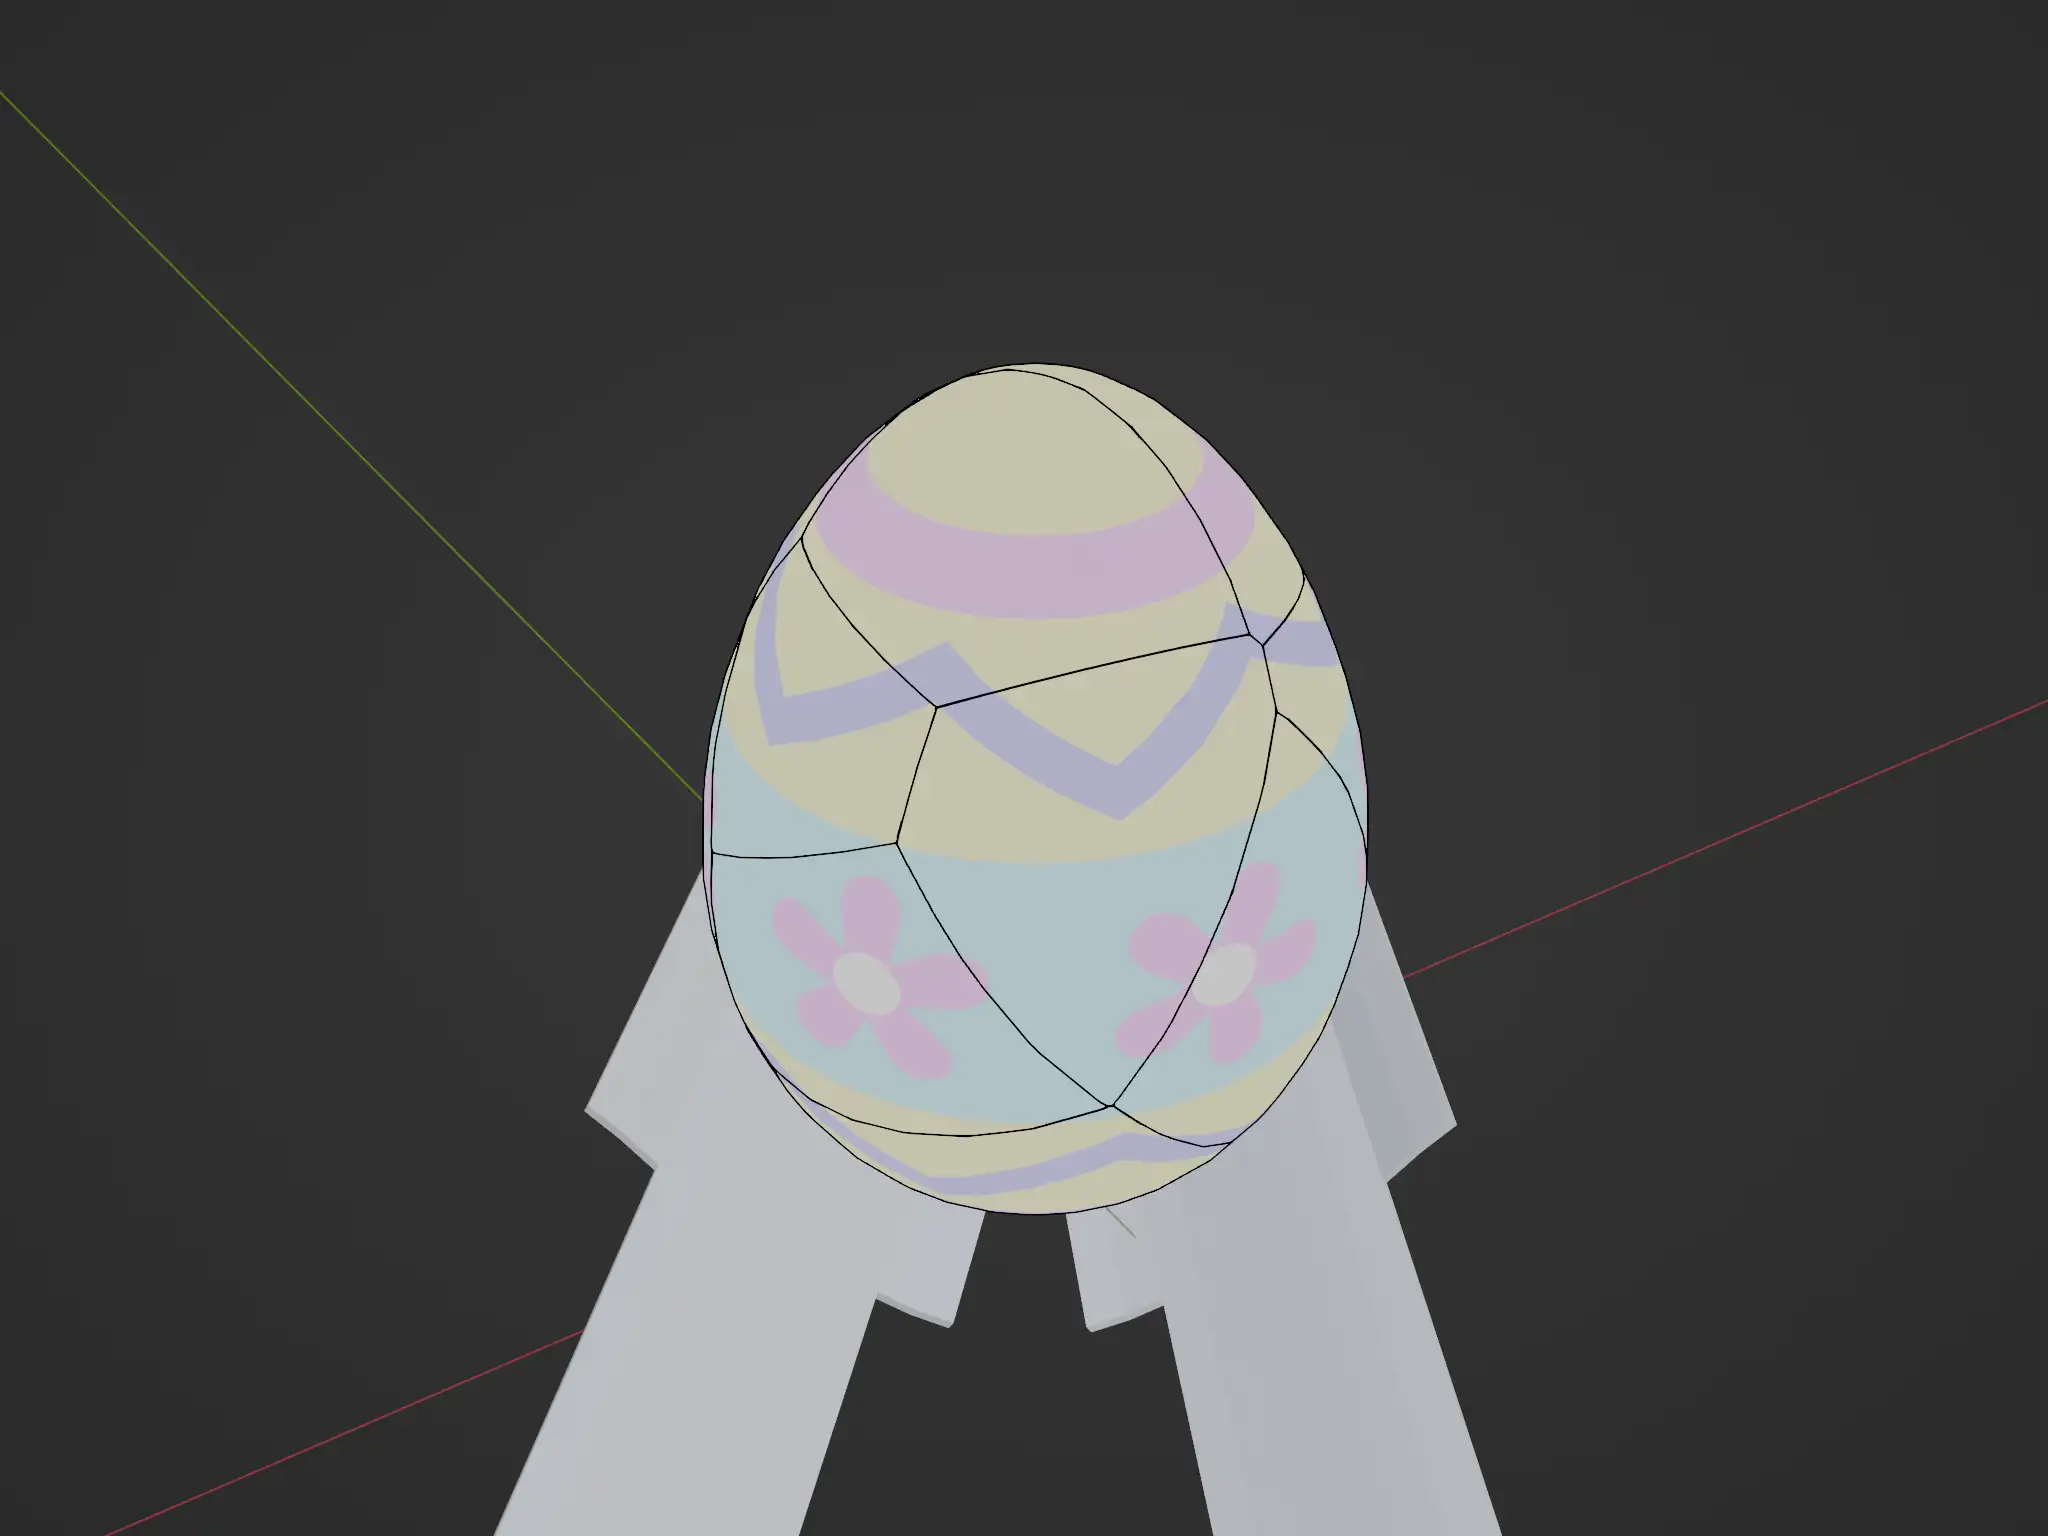
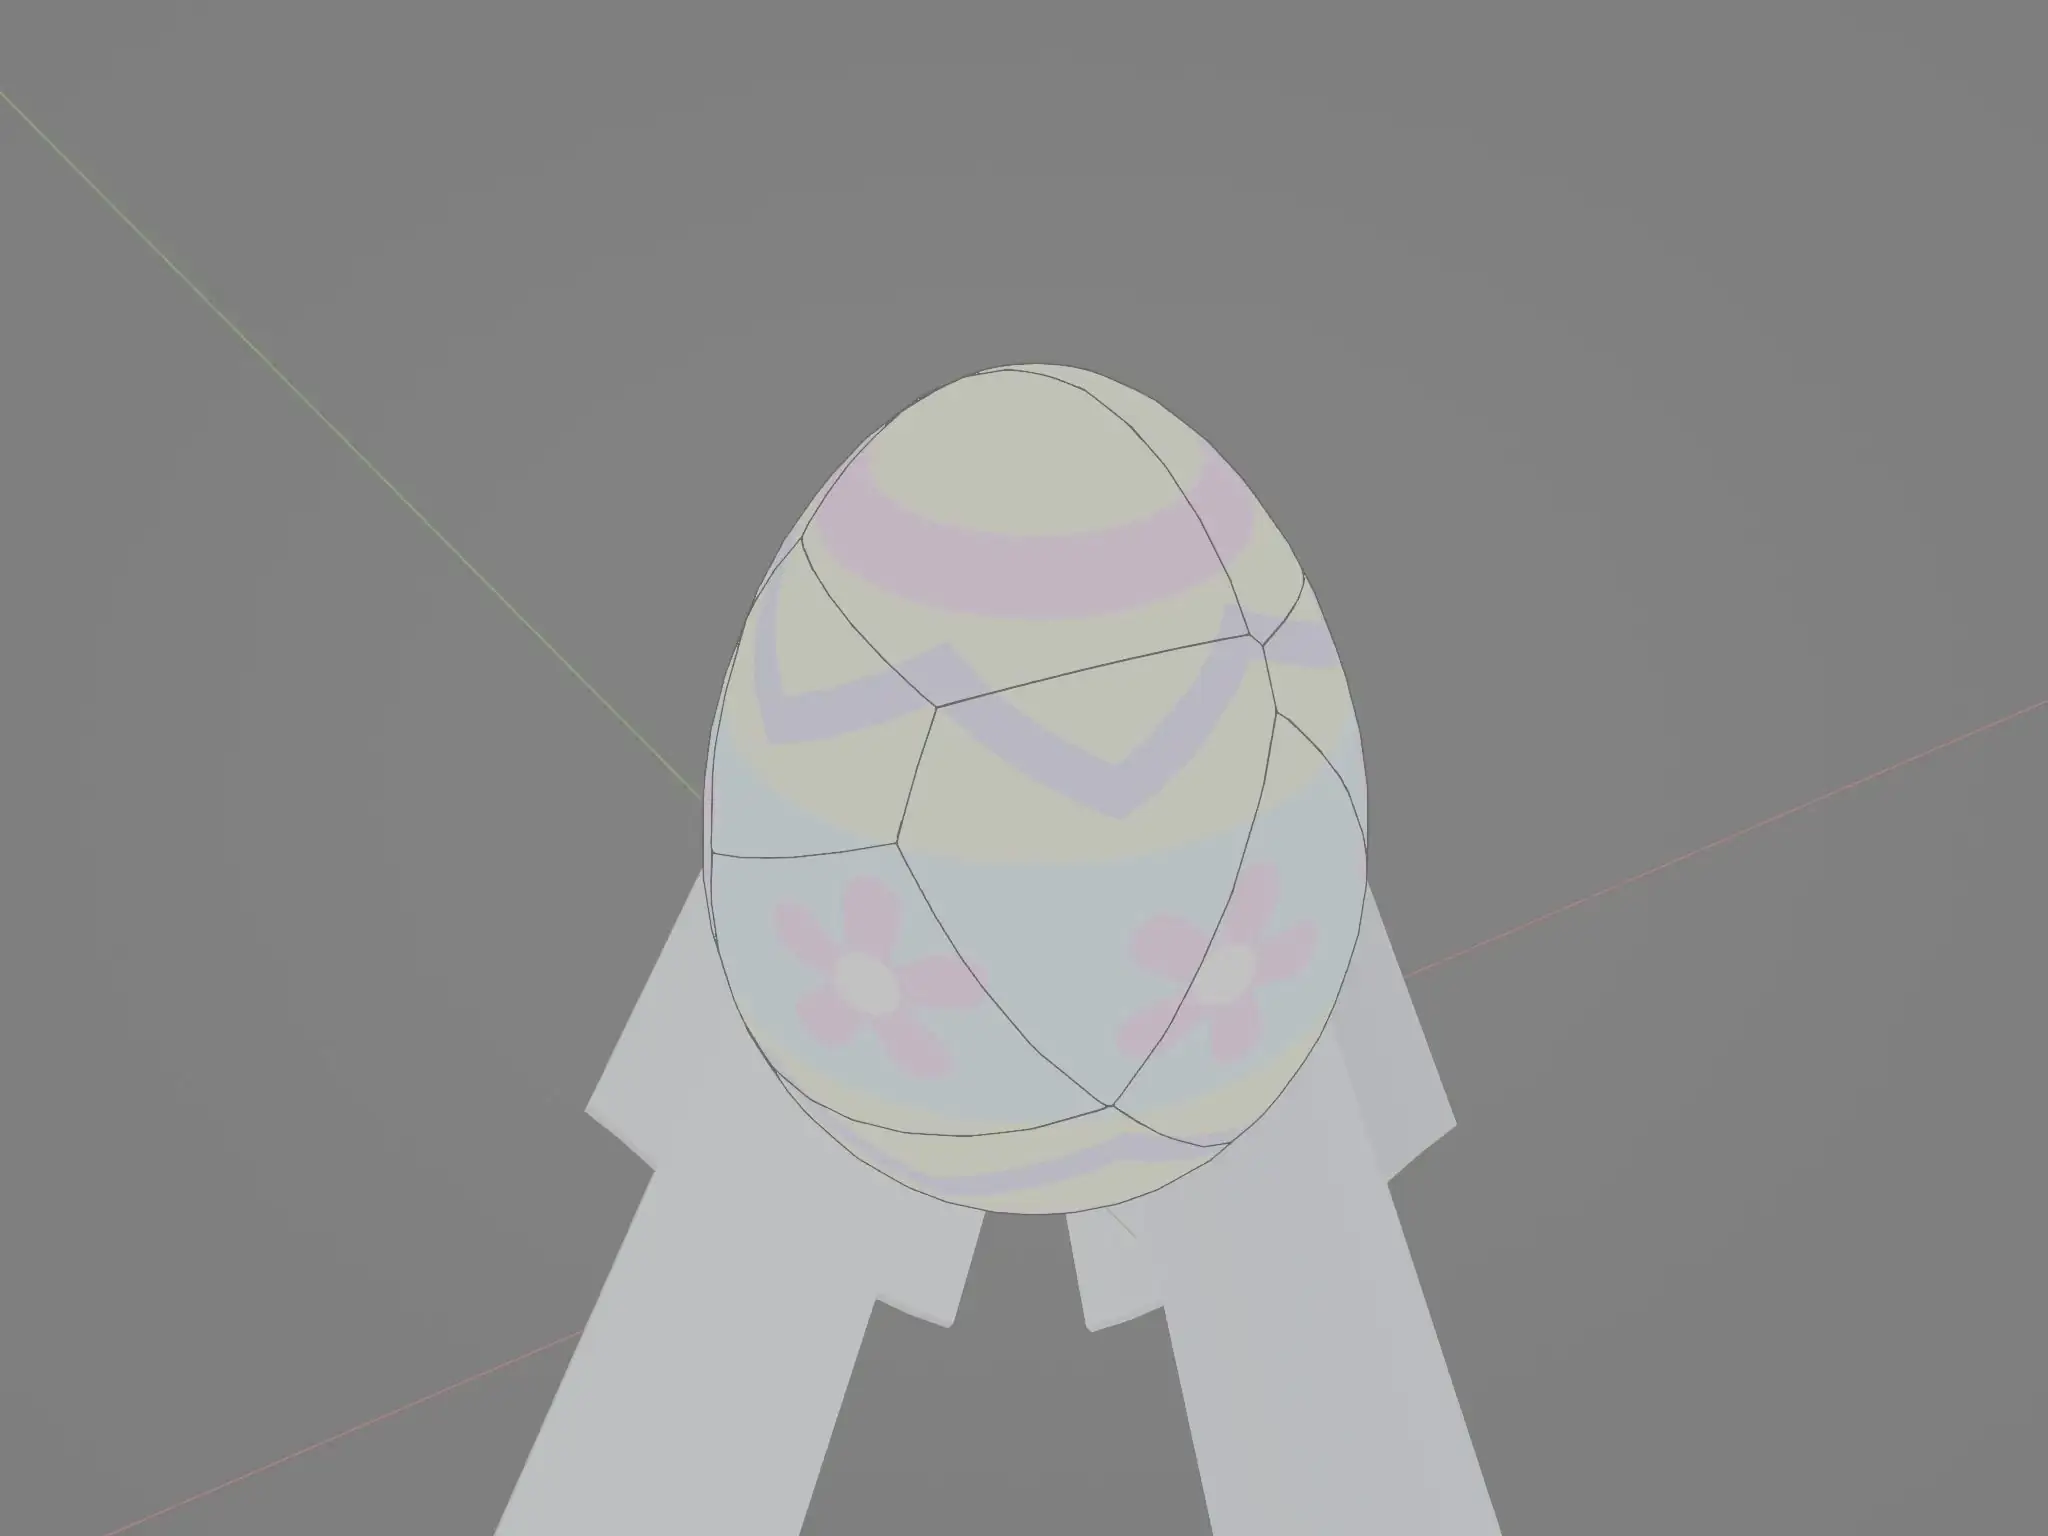
3D Reference
The 3D reference was a little bit of a nightmare to put together. I go into every project thinking “there should be an easy way to do this!” but nope. Since the 3D portion is only there to guide the actual 2D part I do have room for error and I don’t need to make it a super realistic hatching. The other thing about not going for a realistic hatch is that I wanted it to be fast, just to get the point across.
Rough Animation
Every animation poses unique challenges and this one was no exception. I almost feel like I’m forced to change my approach to animating anything on every project, even if I weren’t trying to learn from my previous work (which I am). I’ve talked about before how animations can often be broken down into which body parts are controlling what body parts. But here, particularly with the hatching, every single body part is moving at the same time. To break this down, after getting the key frames done, I just focus on getting all the inbetweens one or two strokes at a time. I slowed down this section of the timelapse so you can see how that played out.
Normally you sketch all the detail for the rough so you just make cleaner line art for the cleanup stage. However, I postponed a couple things to the cleanup stage. For example, I briefly considered also roughing the petals and decorations on the egg, but if I postpone it to cleanup, then I can use the even cleaner 3D reference underlying it.
Also I realized I wanted to make changes to the derg’s head, but didn’t want to go back and put that new head in all the other frames. So I only did the new head wherever I was in the animation at the time (right after the tail wag), and when I cleaned it up the very first clean frame I did was right there. Then I could just copy-paste that clean head when I worked backwards and did all the other frames.
Lastly I didn’t care at all about the disconnections along the neck/body/tail from transformations, because as long as they were in a good enough spot I would redraw all that in the cleanup process anyway (and have better controls for adjusting strokes smoothly).
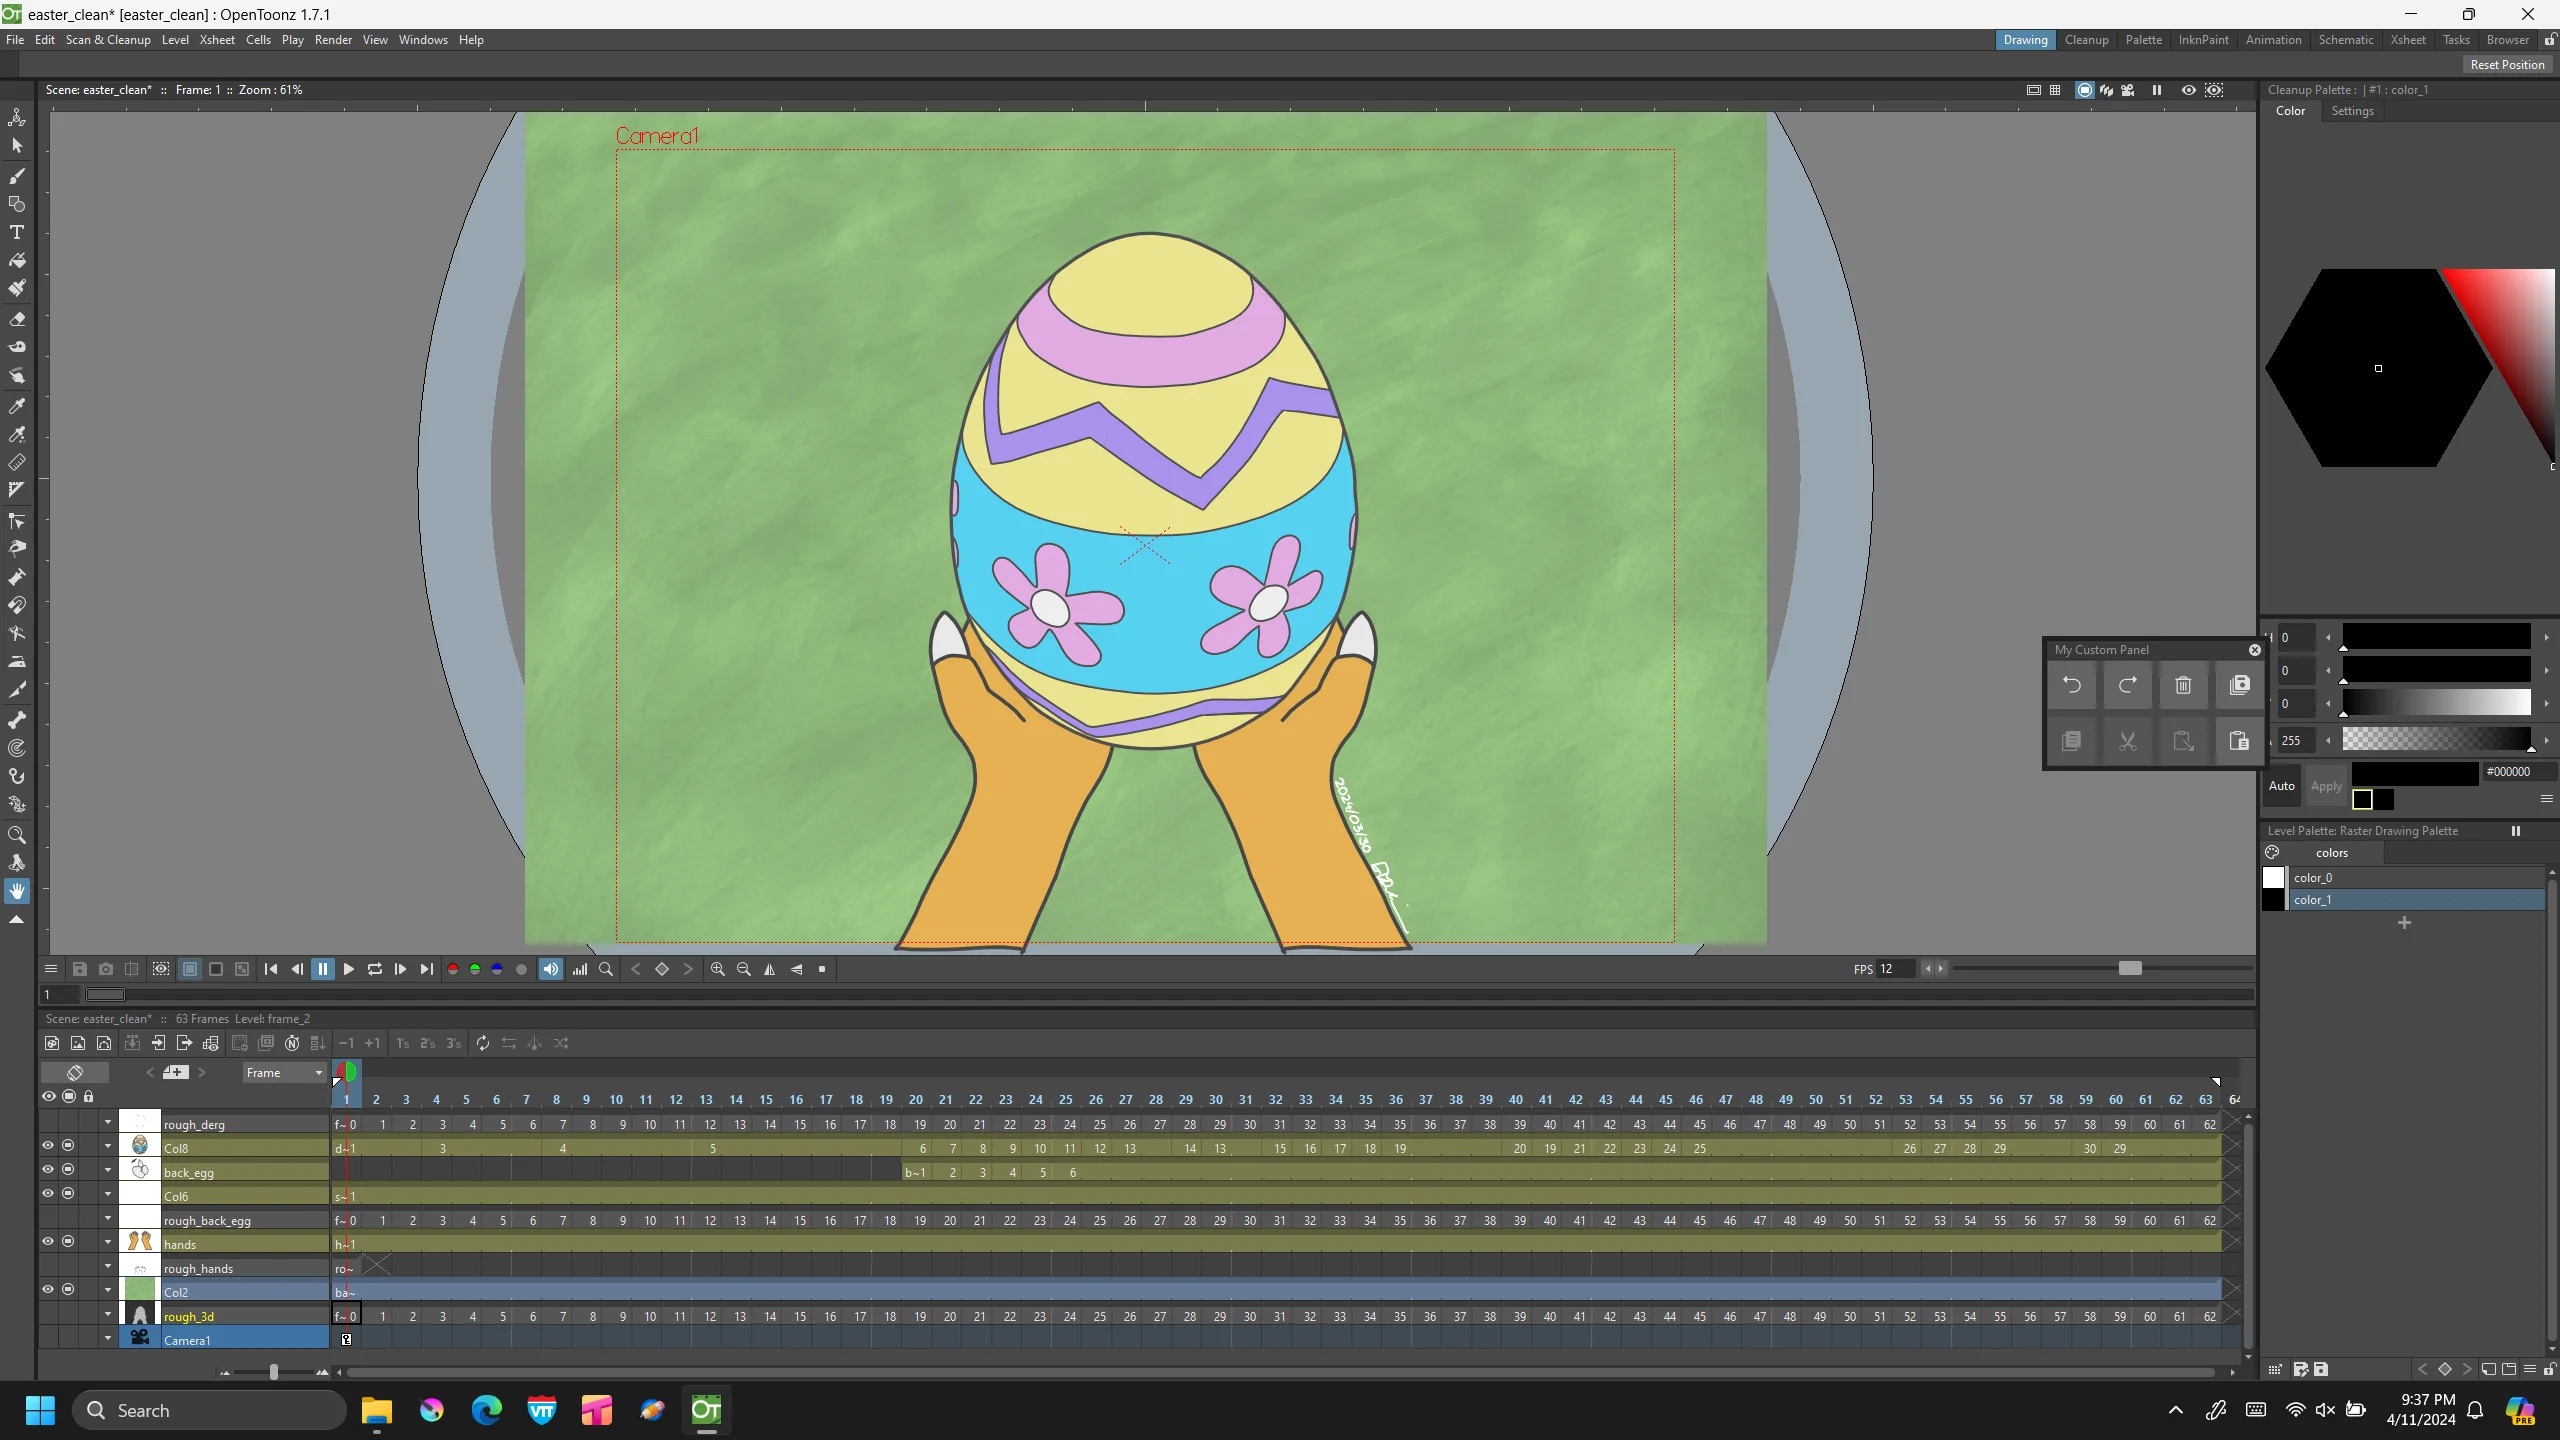
Cleanup
There were less layers for cleanup than for rough. During rough I use layers whenever I need to sketch different parts that overlap each other and I need the room to refine one layer without overwriting the other. But in cleanup I use layers whenever there are elements of the animation that have their own timing, or they overlap with different colored line art.
For instance, in the rough layer I had the derg’s right wing as a separate layer (towards the beginning of the hatch) so I could refine that wing without messing with the rest of the body. But since it shares the timing with the rest of the body, there’s no point in keeping it a separate layer for the cleanup.
This is actually one of the less complicated animations from a cleanup layer standpoint. There’s only the background, the hands holding the egg, the egg + derg, and the back of the egg. No complex compositing required, I could just export it right out of OpenToonz (although I did plop it into Blender for editing the timing).
Retiming & Compositing
No complicated compositing was necessary and for the most part it’s an export straight out of OpenToonz. I did put the export into Blender’s editor for adjusting the timing though, as I realized during cleanup that it was a bit too fast.