April 21 2024
this is my new take on whack-a-mole
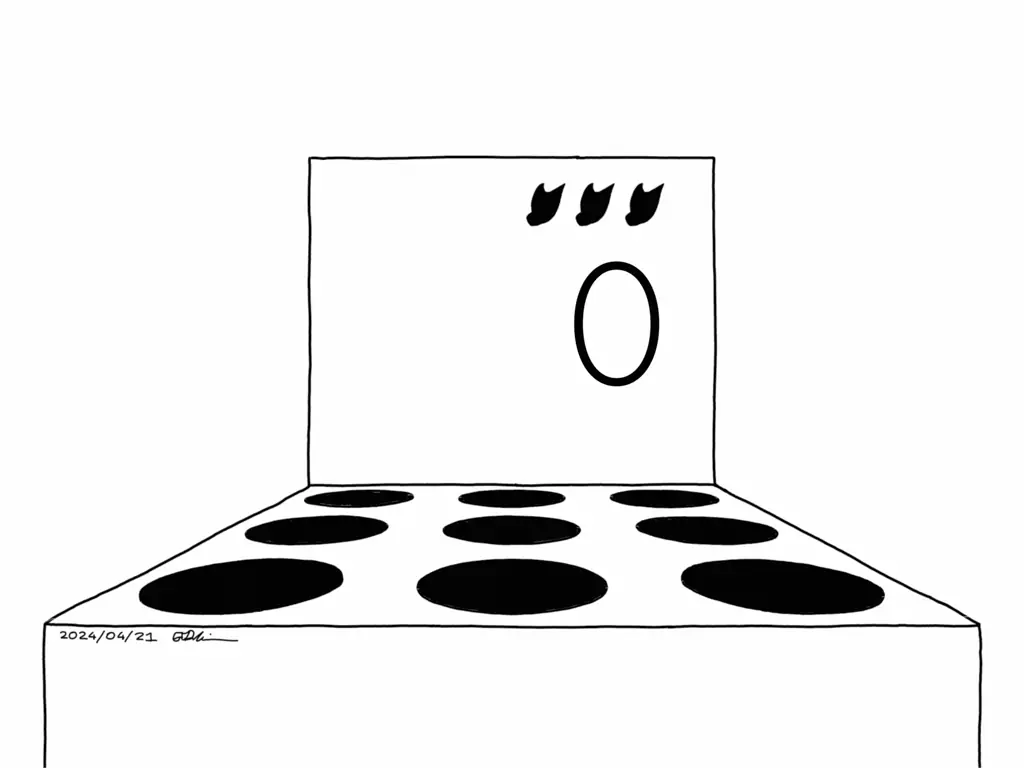
Superior to whack-a-mole in every way. Even the gameplay mechanics are more interesting.
Process
I forget how exactly I came up with this idea. At some point I was thinking about that time I played a whack-a-mole game at Chuck E. Cheese’s when I was insanely young, and then I put two and two together and thought “Wait what if it were about headpats?” I figured it’d be one of those animations in the category of “Well I don’t think this appeals to many art people, but I know there’d be some people in the Fediverse who would appreciate this.” And I completely underestimated how many people liked that idea.
From the start I realized that this would be a lot of keyframe-based animation, with all the heads popping up and down and changing emotional states. I was also going to draw the whole arm and animate the arm and hand as a hand-drawn sequence that shifts positions and everything. But, like many projects, I started simplifying and simplifying as I went.
I found that just doing the hand lets me place it pretty much wherever I want without doing a ton of work, which saved a lot of effort. I was also testing keyframe animation in Krita very briefly, before quickly realizing that while it could be done all in Krita, I needed to use a keyframing system I was more comfortable with and had more experience in; that is, Blender’s. That turned out to be a good call, as I didn’t realize just how many keyframes it would take (a lot).
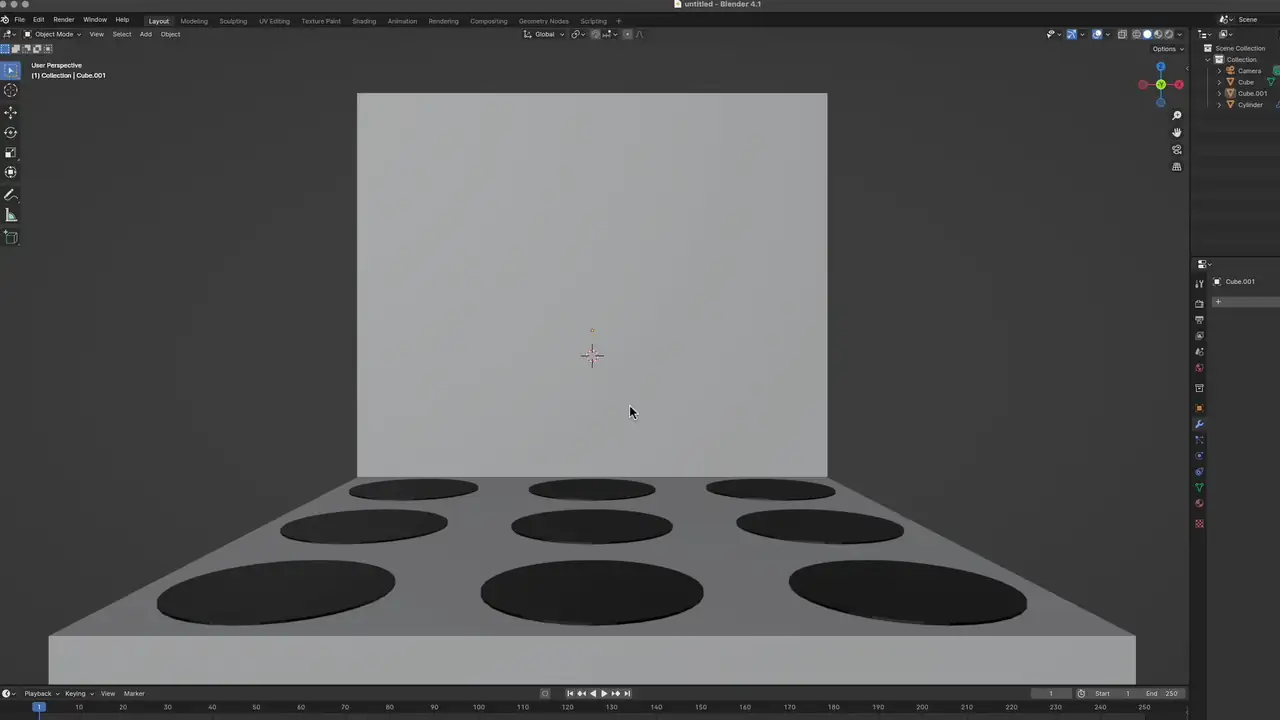
So, in the end, I ended up with a workflow where I drew all the assets in Krita, exported them out as individual layers, and imported them into Blender. Using the Images as Planes plugin helped, and with orthographic camera projection it’s possible to get the images and the borders of the camera to line up exactly (just match the Scale parameter in the camera with the width or height dimension of the image plane). However, there’s a lot of blank space in each image plane, and furthermore Blender doesn’t like viewing transparent textures through each other. So I used a cutting tool to cut away most of the transparent parts, leaving only rectangles of the actual content. Using the cutting tool avoids having to UV remap everything.
The one thing I lost going to orthographic projection is having to mimic perspective when the hand moves “forward” and “backward”. But it wasn’t super hard, and no one noticed.
Switching between textures were done in shader nodes, with animated Mix nodes specifically. Using more than one Mix node lets you use more than one texture, although it can get unwieldy pretty quickly (luckily I only needed three). The score was done with Geometry Nodes, where I assigned a certain amount of points to a pat or a boop, multiplied by the amount of each, added them together, and converted to a Text object.
No fancy compositing or retiming was necessary and I could just render directly out of Blender. I also didn’t do any cleanup either, I kept the assets a little rougher and uncolored. It felt right as this made it feel like a sketch of an idea rather than something super ultra highly polished.